qmtvline
Positioning for measuring turned parts without adjustment
Installation for measuring turned parts
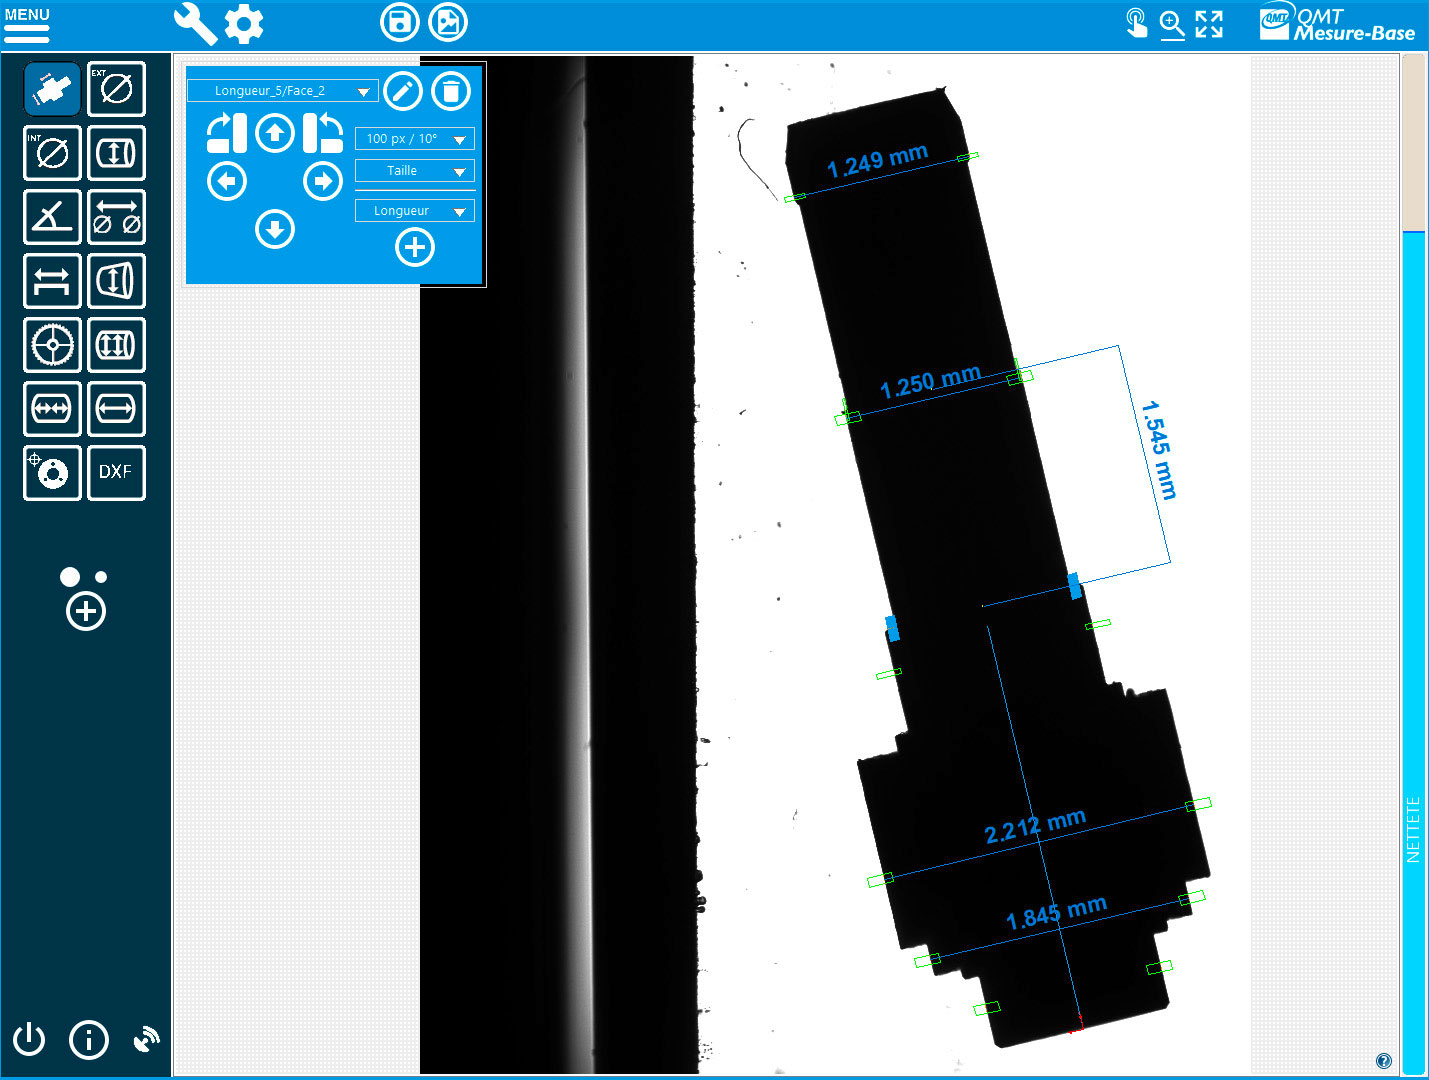
To avoid positioning the part on two blades, it is placed between two flat transparent supports that create a certain angle between them. The part can thus naturally "lean" thanks to gravity. The optical path of the light emitted by the source is modified so that the image seen by the camera is no longer from above but from the side, thus the measured dimensions correspond to reality. It is therefore no longer necessary to precisely position the part along its axis of rotation, which eliminates the planing operation.
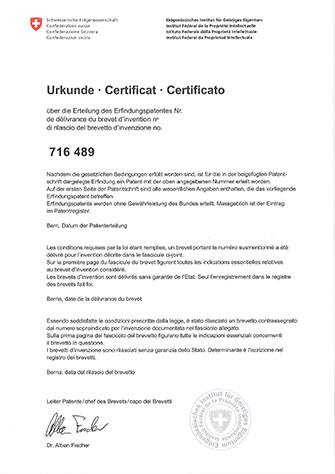
The qmtvline is patented (CH716489)
- The accuracy of the measurement
- The speed of measurement
- Ease of use
- Long room or multi-room measurements with the qmtvline-200
The qmtvline is particularly suitable for use with the qmtprojector-100 equipment to enable rapid and accurate measurement of turned parts.
More than 35 years of history
A history marked by innovation. qmt developed the Multimicro in 1991, which received an award from Crédit Suisse (motorized image analyzer with automatic microhardness measurement). In 2015, qmt won the Geneva Canton Innovation Award.
Our historyMeasurement of turned parts

SIMODEC Innovation Trophy for the qmtprojector-100

A perfect combination
- Versatility: flat parts without laying, turned parts with the qmtvline , beats with the qmtwheeltest-vision technology
- High precision: qmtjust to guarantee metrological performance
- Great ease of use even for complex measurements
- No planing: reliable and very fast measurement of turned parts with the qmtvline fixture
- qmtsixsigma option for APC (Automated Process Control)


qmtvline compatibility
Measuring threads

Measuring turned parts
A demonstration of the difference in using standard installation with the qmtvline : time saving and ease of use
readingAccuracy and measurement speed
| qmtvline-100 | qmtvline-200 | |
|---|---|---|
| Measurable parts | Revolutionary parts having equilibrium | |
| Compatible equipment | All vertical axis optical equipment | |
| Maximum field of vision | 8.15 mm x 9.15 mm | 49.15 mm x 9.15 mm |
| Maximum room dimensions |
According to geometry
|
|
| Minimum room dimensions | Diameter > 80µm | |
| Minimum focusing distance | 60 mm | |
| Dimensions (H x W x D) [mm] | 52 x 20 x 64 | 52 x 60 x 64 |
| Item codes | AQ024AA001 | AQ024AA004 |
The qmvline is patented


